SpringCloud使用Feign+Ribbon
大约 2 分钟
1、引入依赖
<dependency>
    <groupId>com.alibaba.cloud</groupId>
    <artifactId>spring-cloud-starter-alibaba-nacos-discovery</artifactId>
</dependency>
<dependency>
    <groupId>org.springframework.cloud</groupId>
    <artifactId>spring-cloud-starter-netflix-ribbon</artifactId>
</dependency>
2、增加相关配置
spring:
  application:
    name: discovery-consumer-feign-ribbon #修改此处为您的应用程序名称
    group: test #部门
    developer:  developer  #<负责人姓名>
  cloud:
    nacos:
      discovery:
        server-addr: nacos.com    #Nacos服务地址
management:
  endpoints:
    web:
      exposure:
        include: "*"  #打开所有端点,默认是info,health
  endpoint:
    health:
      show-details: always #显示health的明细内容,默认是never
server:
  port: 8086
3、远程调用
基础使用方式为给RestTemplate增加@LoadBlanced注解实现负载均衡
/**
 * 最简单的ribbon负载均衡实现,定义一个RestTemplate的Bean,
 * 添加@LoadBalanced注解,在调用时注入该Bean即可实现客户端负载均衡
 * */
@Bean
@LoadBalanced
public RestTemplate restTemplate(){
    return new RestTemplate();
}
4、定义Feign接口
//定义接口,增加FeignClient注解,在注解中使用name属性指定调用的具体服务名
@FeignClient(name = "discovery-provider")
public interface RemoteClient {

    @GetMapping(value = "/echo/{name}")
    String hello(@PathVariable("name") String name);
}
5、可选的负载均衡策略
//创建一个配置类
//自定义了一个标记注解,@AvoidScan避免该配置类成为全局的负载均衡策略。
@Configuration
@AvoidScan
public class AppointRibbonMetric {
    @Bean
    public IRule ribbonRule(){
        return new BestAvailableRule();
    }
}
6、主类增加相关注解
/**
 * 使用@RibbonClient可以对具体的服务调用指定特定的负载均衡策略。
 * 此处@ComponentScan中的属性配置用于在spring进行扫描时,不将@AvoidScan注解修饰的策略设为全局默认策略
 * 可以在@RibbonClients配置多个@RibbonClient
 */
@SpringBootApplication
@EnableDiscoveryClient
@EnableFeignClients
@RibbonClients(value = {@RibbonClient(name = "discovery-provider",configuration = AppointRibbonMetric.class)})
@ComponentScan(excludeFilters = {@ComponentScan.Filter(type = FilterType.ANNOTATION
,value = {AvoidScan.class})})
public class ConsumerRibbonApplication {

    public static void main(String[] args) {
        ConfigurableApplicationContext context = SpringApplication.run(ConsumerRibbonApplication.class, args);
        System.out.println(context.getEnvironment().getProperty("spring.application.name"));
    }
}
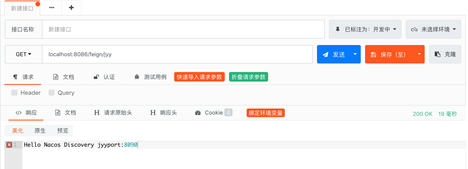
7、测试调用
多次点击调用成功,并路由到不同端口的实例上。